Verify a company after import
Check the imported chart, journal history, reports, registers, and bank-reconciliation readiness.
Check The Chart And Registers
A completed import means LedgerHQ accepted the files — not that cutoff, account types, or balances are right. Review before connecting live work.
Open Chart of Accounts and scan Assets, Liabilities, Equity, Revenue, and Expenses. Confirm that expected bank and credit-card accounts exist in the correct sections. Open several important accounts and compare their running balances with QuickBooks at the cutoff.
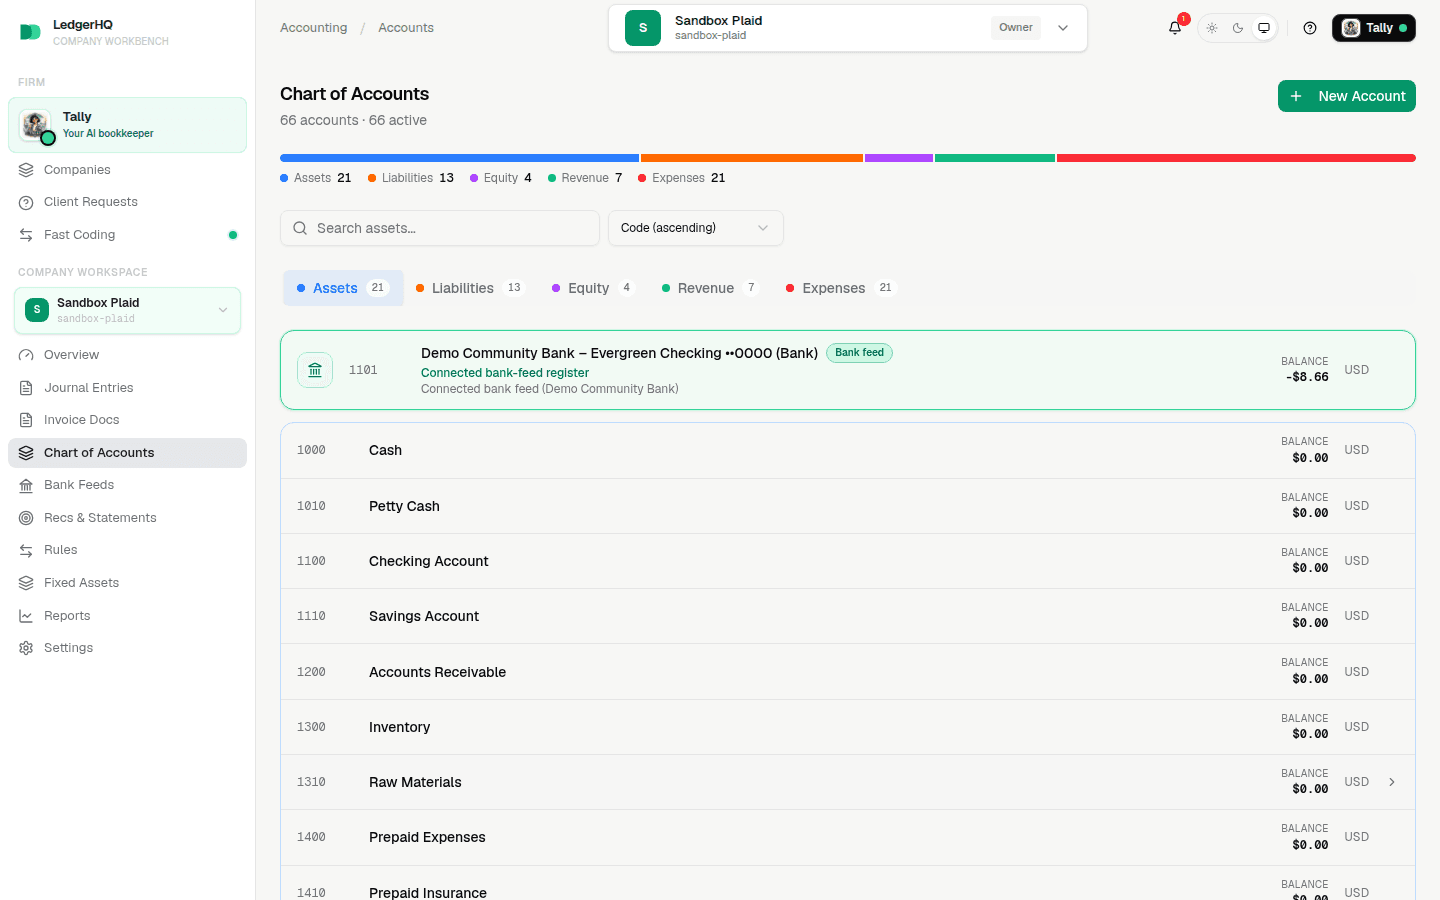
Account numbers can differ, but duplicate names, missing cash accounts, or an unexpected account type require investigation before posting new activity.
Review Journal History In The General Ledger
Open Reports > General Ledger for the imported period. Confirm the first and last dates, then spot-check familiar entries across cash, revenue, expenses, credit cards, loans, and equity.
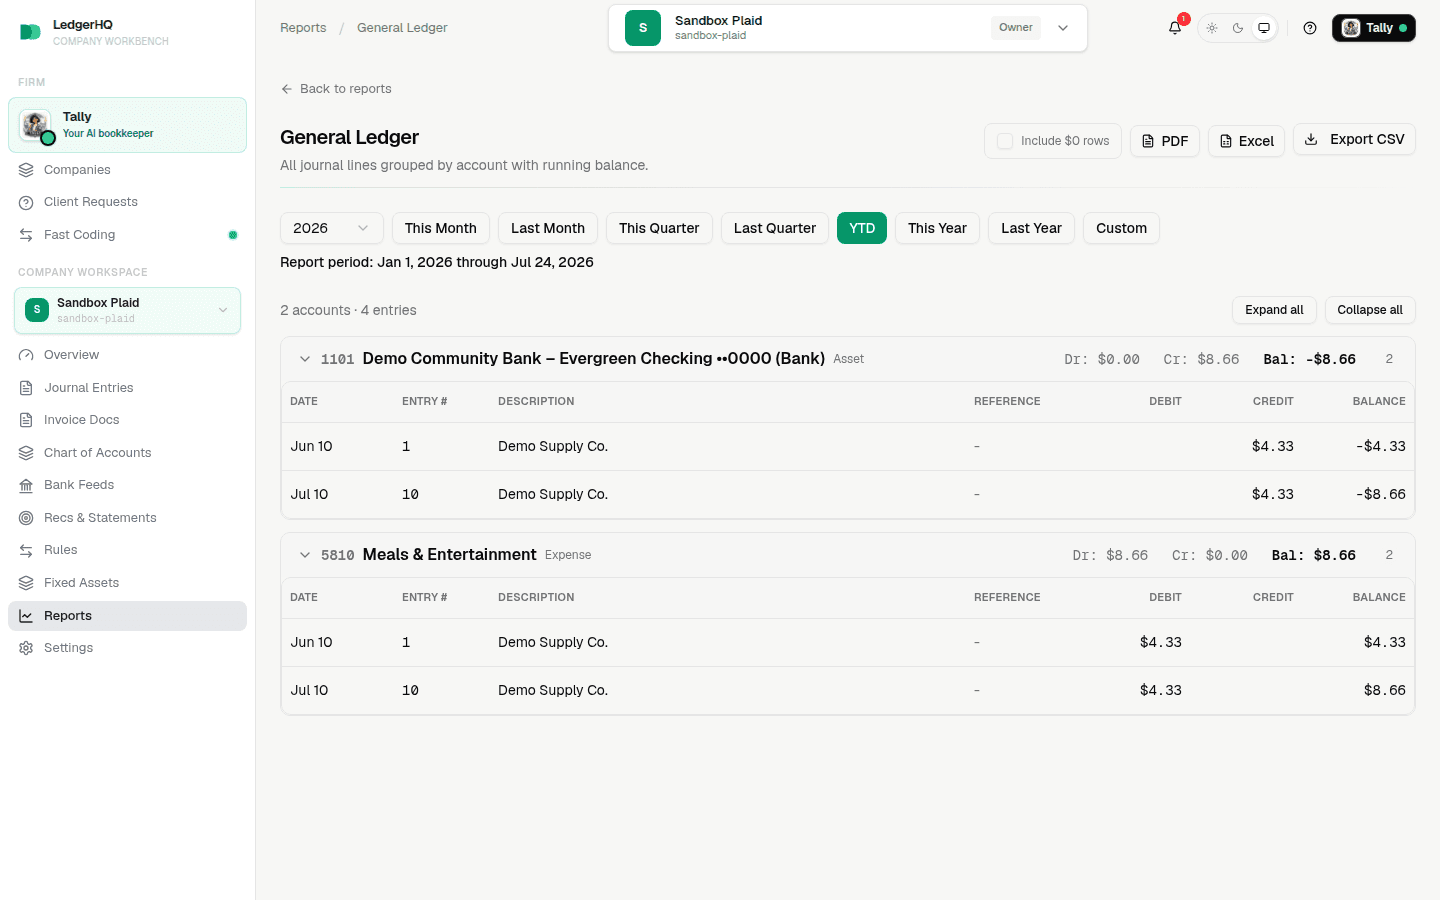
The day-to-day Journal Entries page is focused on app-created manual journals and can hide bulk imported history. Use the General Ledger and account registers for the complete imported posting detail.
Compare The Core Reports
Run the Income Statement, Balance Sheet, and Trial Balance for the same cutoff period used in QuickBooks. Compare high-level revenue, net income, cash, cards, loans, and equity first. Presentation can differ; unexplained balances cannot.
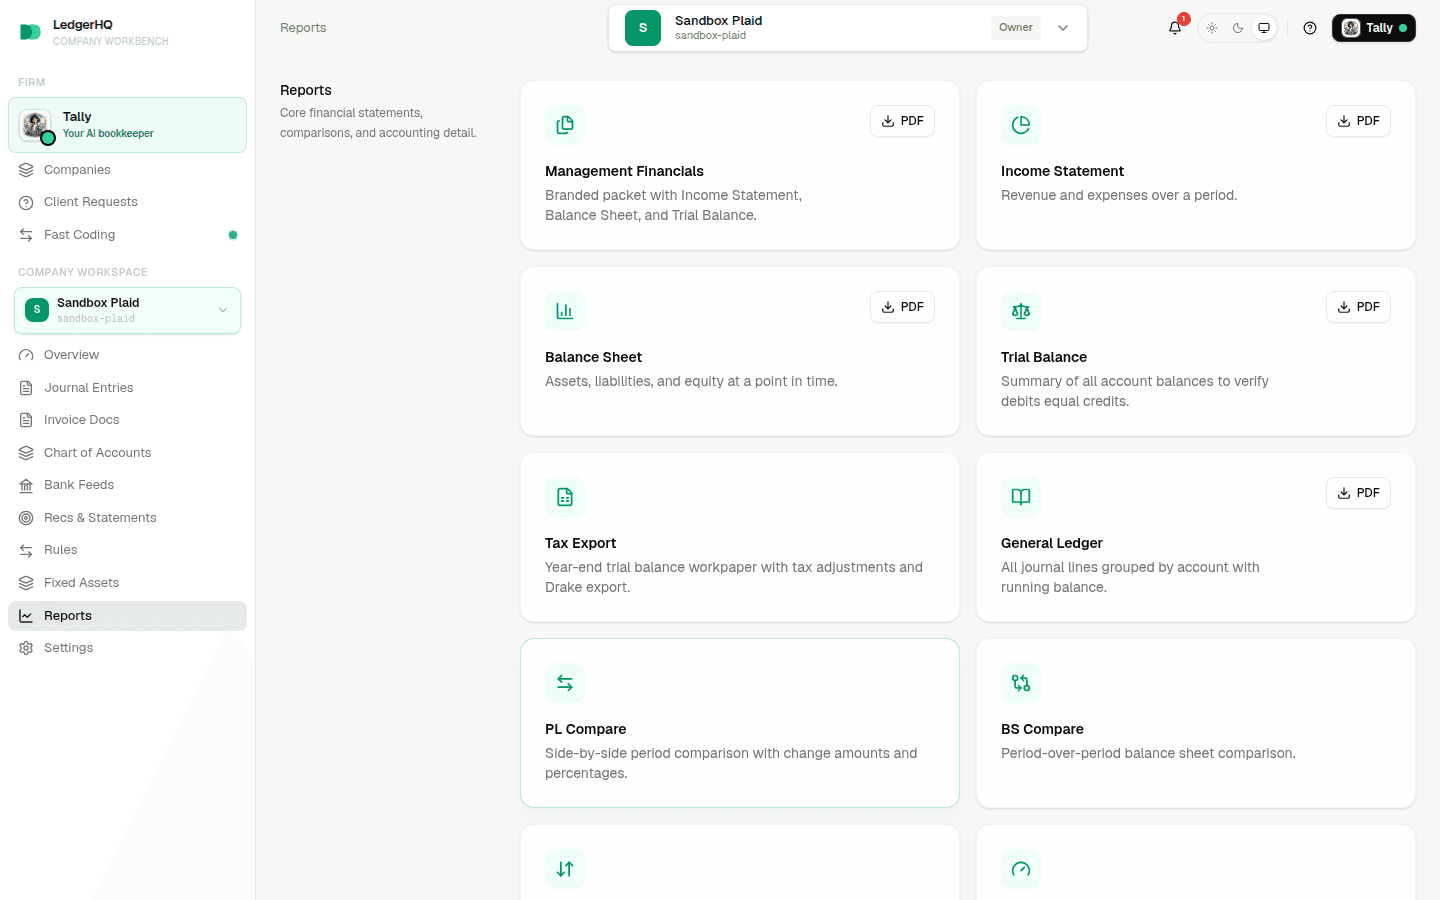
A balanced Trial Balance proves debits equal credits. It does not prove that accounts, dates, or the migration cutoff are correct.
Confirm Reconciliation Readiness
Open Recs & Statements > Bank Recs. Every bank or card the firm expects to reconcile should appear with a register. Review any import reconciliation setup before starting the first statement.
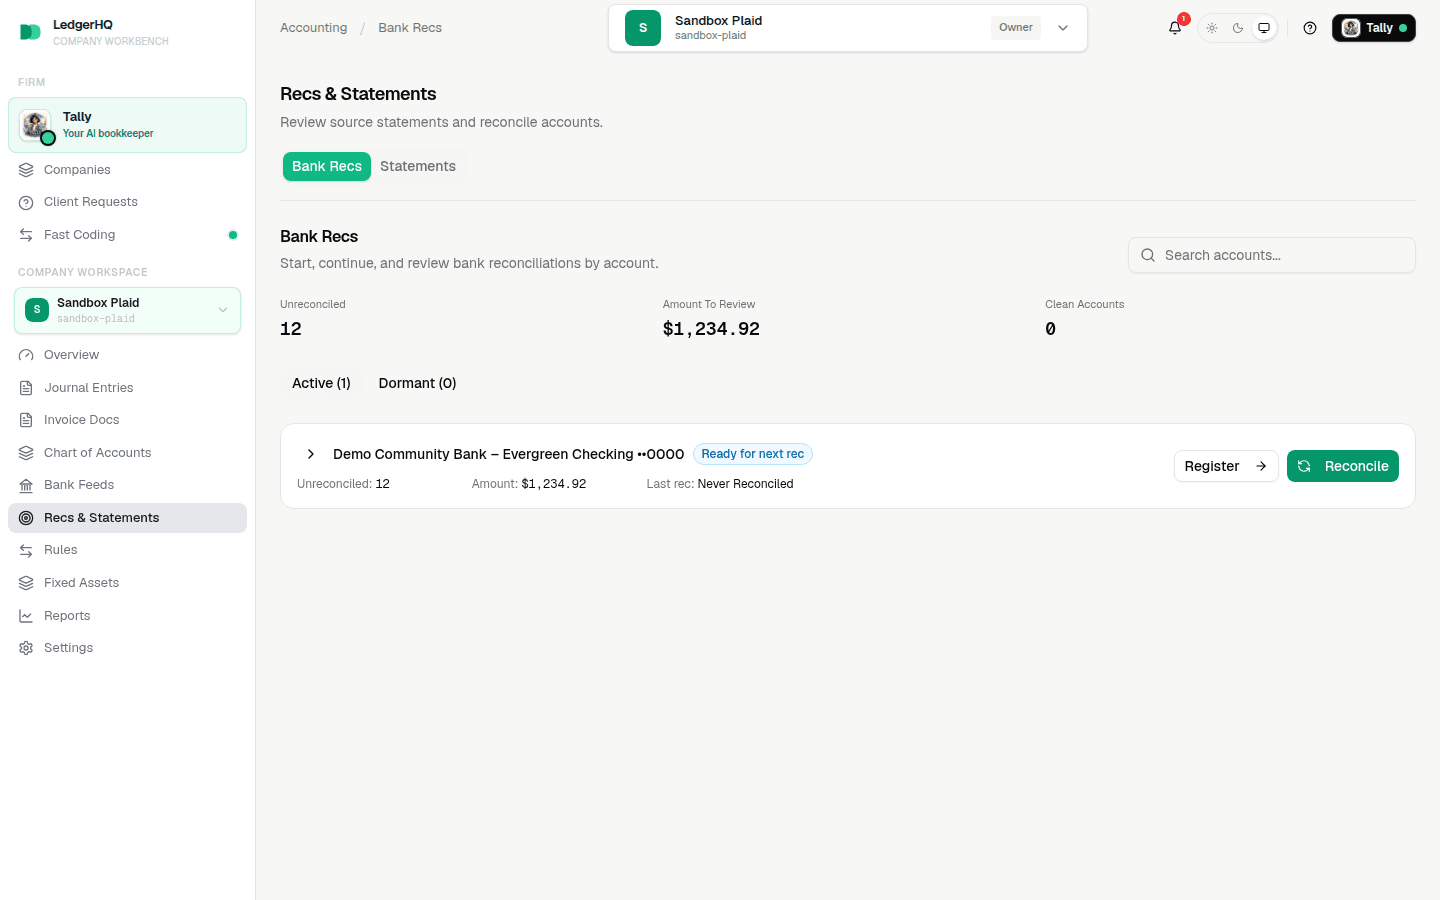
Proceed only when the chart is usable, the General Ledger covers the expected dates, the three core reports are explainable, and every required bank or card has a register. If any check fails, stop before posting bank-feed rows and correct or replace the import first.